Teaching Kids to Edit Genes
Something I haven't touched on much here (except for my last post) is how passionate I am about teaching and especially about teaching science. As the Bioengineering Graduate Society’s (BEGS) Outreach Chair, I engage with the greater San Diego community and try to expose them to biology and bioengineering. We attend local STEM fairs (like SDFSE in my last post) and teach biotechnology lessons at local high schools. In one of these programs, we partner with Illumina and Biocom on their “lab in a box” program, which puts sequencers in the classroom and has students sequence microbial samples and analyze their own data. Through this partnership, we began to meet teachers who wanted us back for other biotechnology lessons. Thus the CRISPR lab was born! I developed it alongside my former co-chair Dasha, and now my current co-chair Payton runs it with me. It pairs a hands-on gene editing experiment with a bioethics discussion, and I think it's one of the most impactful things we do. Here is how the lesson goes:
Materials:
- Chemically competent E. coli cells
- CRISPR plasmid DNA
- 42°C water bath
- Ice
- 37°C Incubator
- LB+Agar+antibiotic plate
- LB
- Tubes, pipette tips, gloves, lab coats, etc…
- Enthusiasm (essential)
The Lab:
Setting the Stage
We start by telling the students exactly what they're about to do: make a genetically modified organism. This usually perks their ears up and gets them interested before the science comes in.
The goal is to genetically modify non-motile E. coli into a motile strain. To do this, we will use CRISPR/Cas9 to cut the flagellar gene fliC and provide template DNA for the gene to increase its production through homology-directed repair. While the students are already familiar with the concept of a bacterial transformation, or the process of putting foreign DNA into a bacterium, we have a quick refresher slide to remind them of the concept. We then go over some of the challenges of getting DNA to go into a cell, like the charge of DNA and the phospholipid bilayer membrane both being negatively charged, and the steric bulk of the membrane preventing DNA import.
DNA Addition and Heat Shock Activity
After the refresher, students add 1µL of DNA (CRISPR+donor plasmid) to the competent cells and let the mixture sit on ice for 10-15 minutes so that the DNA can associate with the Mg2+ ions in the cell solution, solving the like charge problem between the membranes and the DNA.
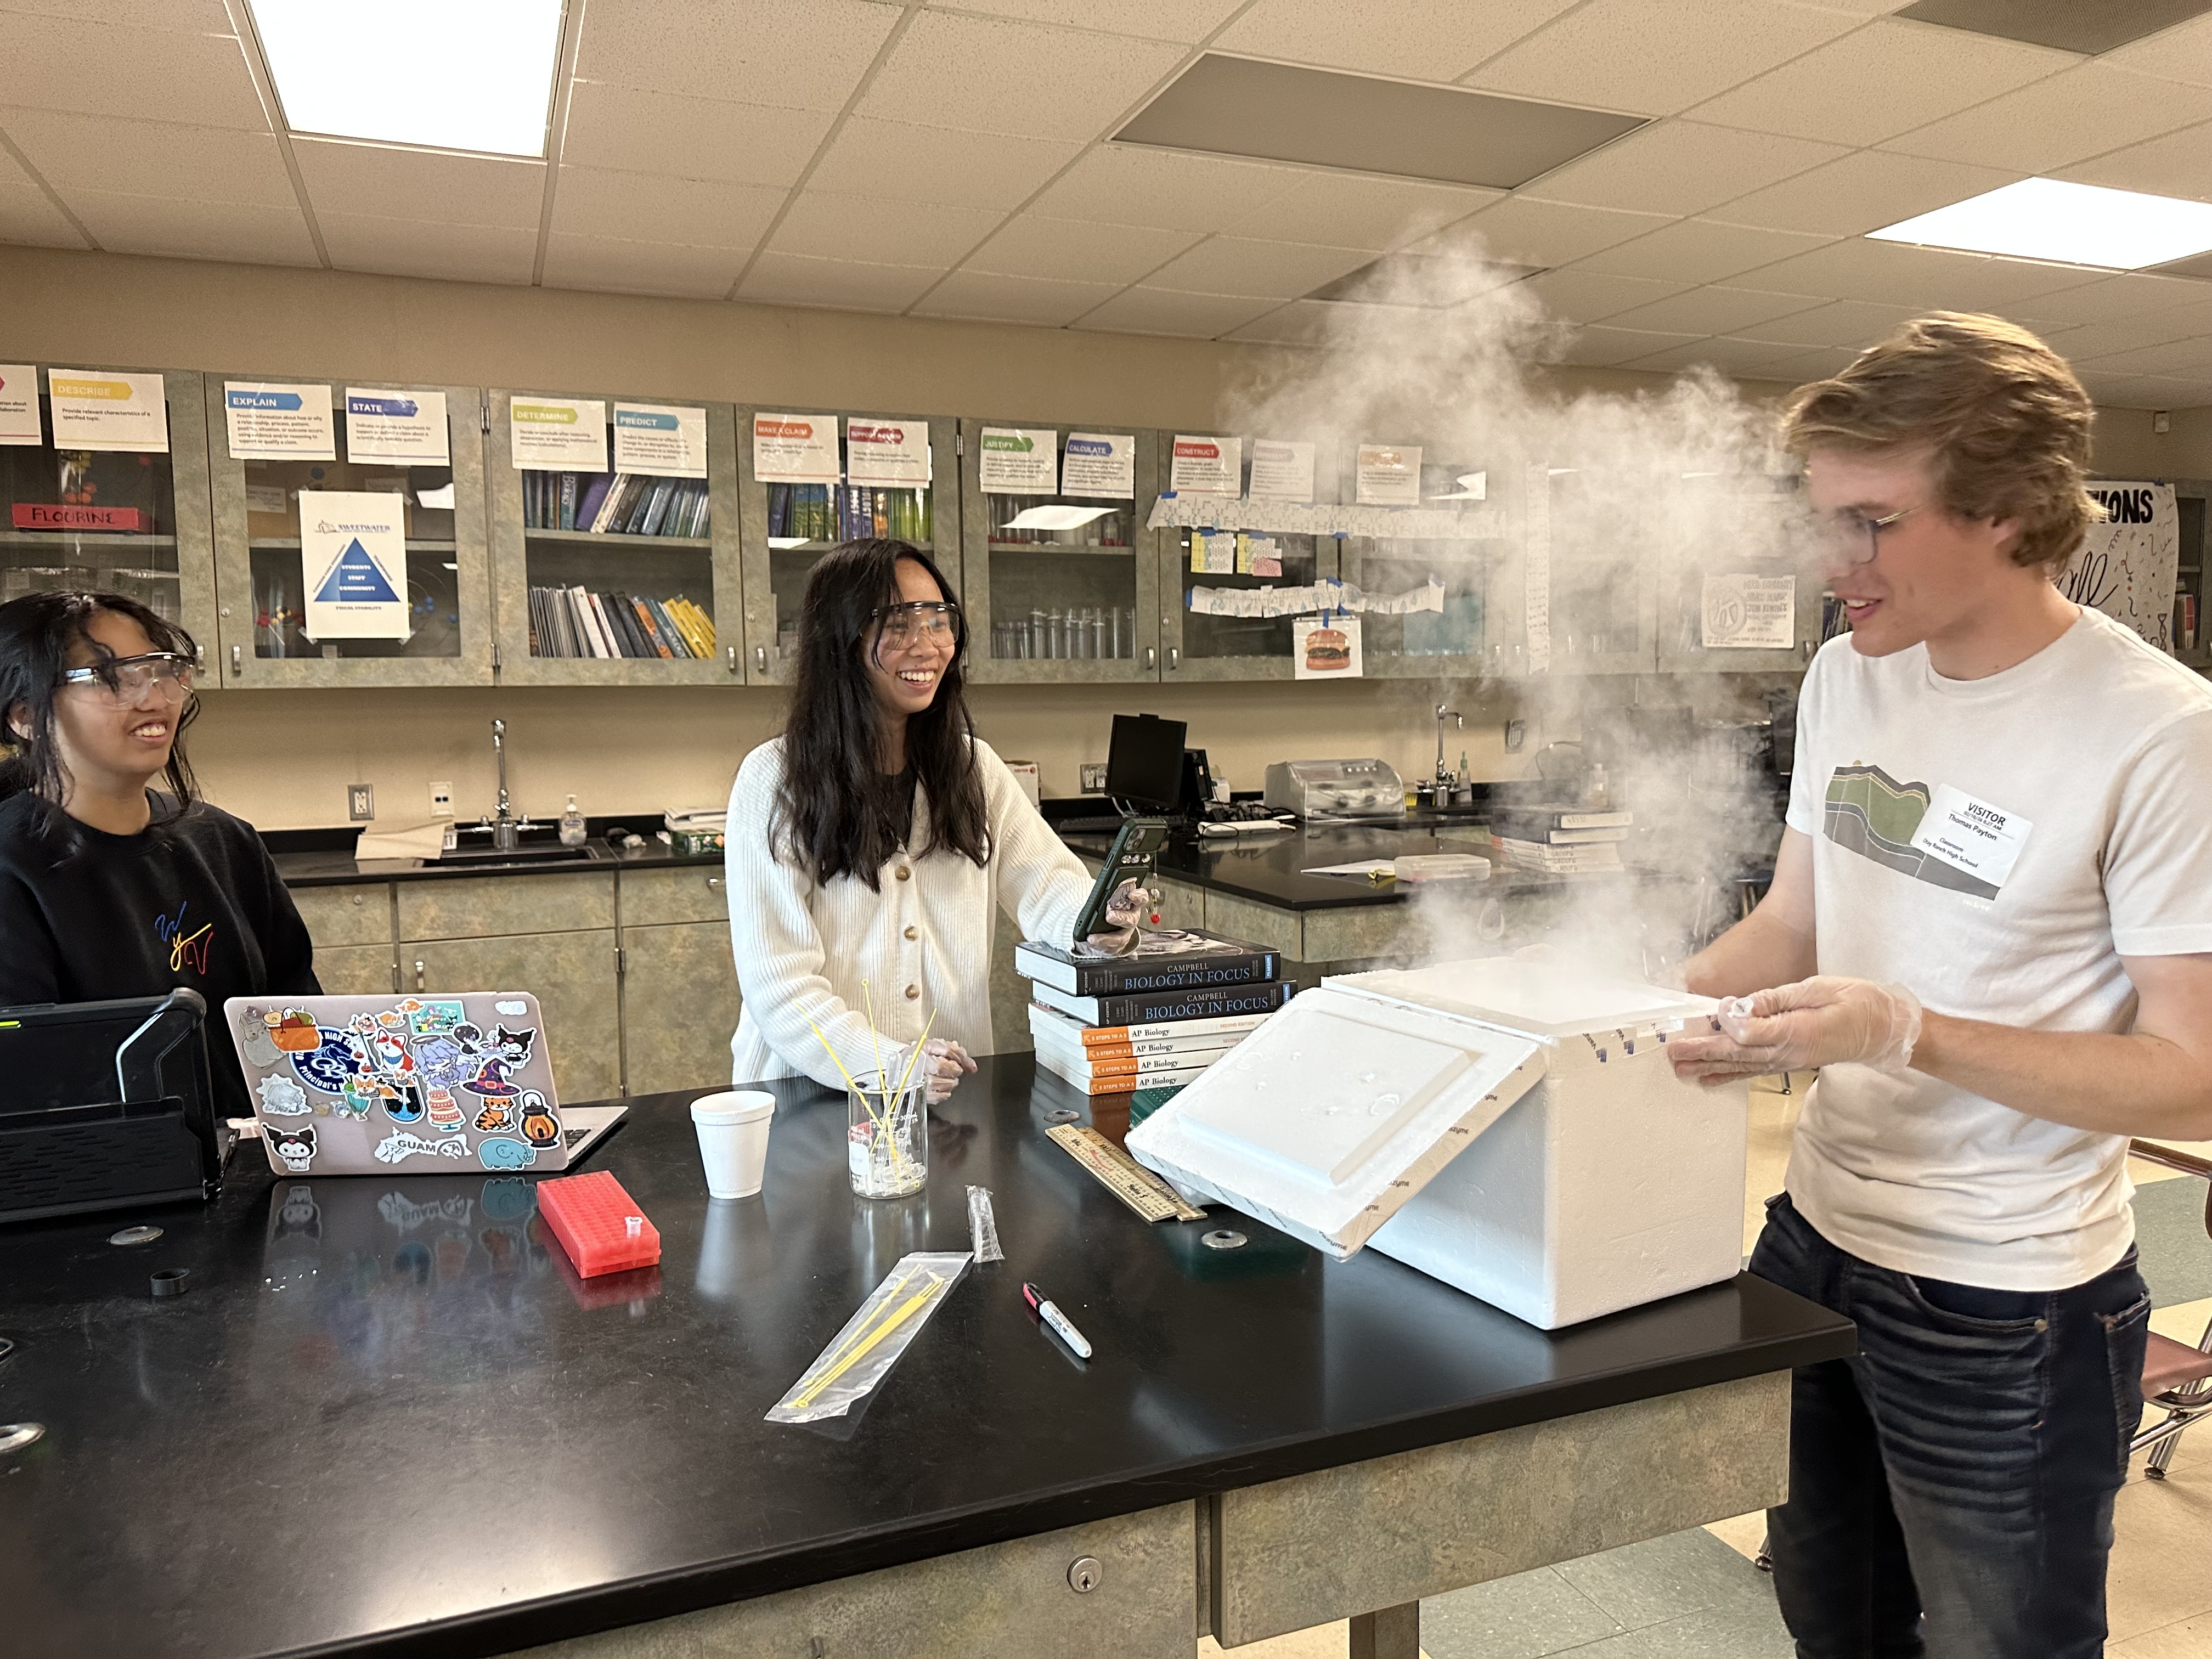
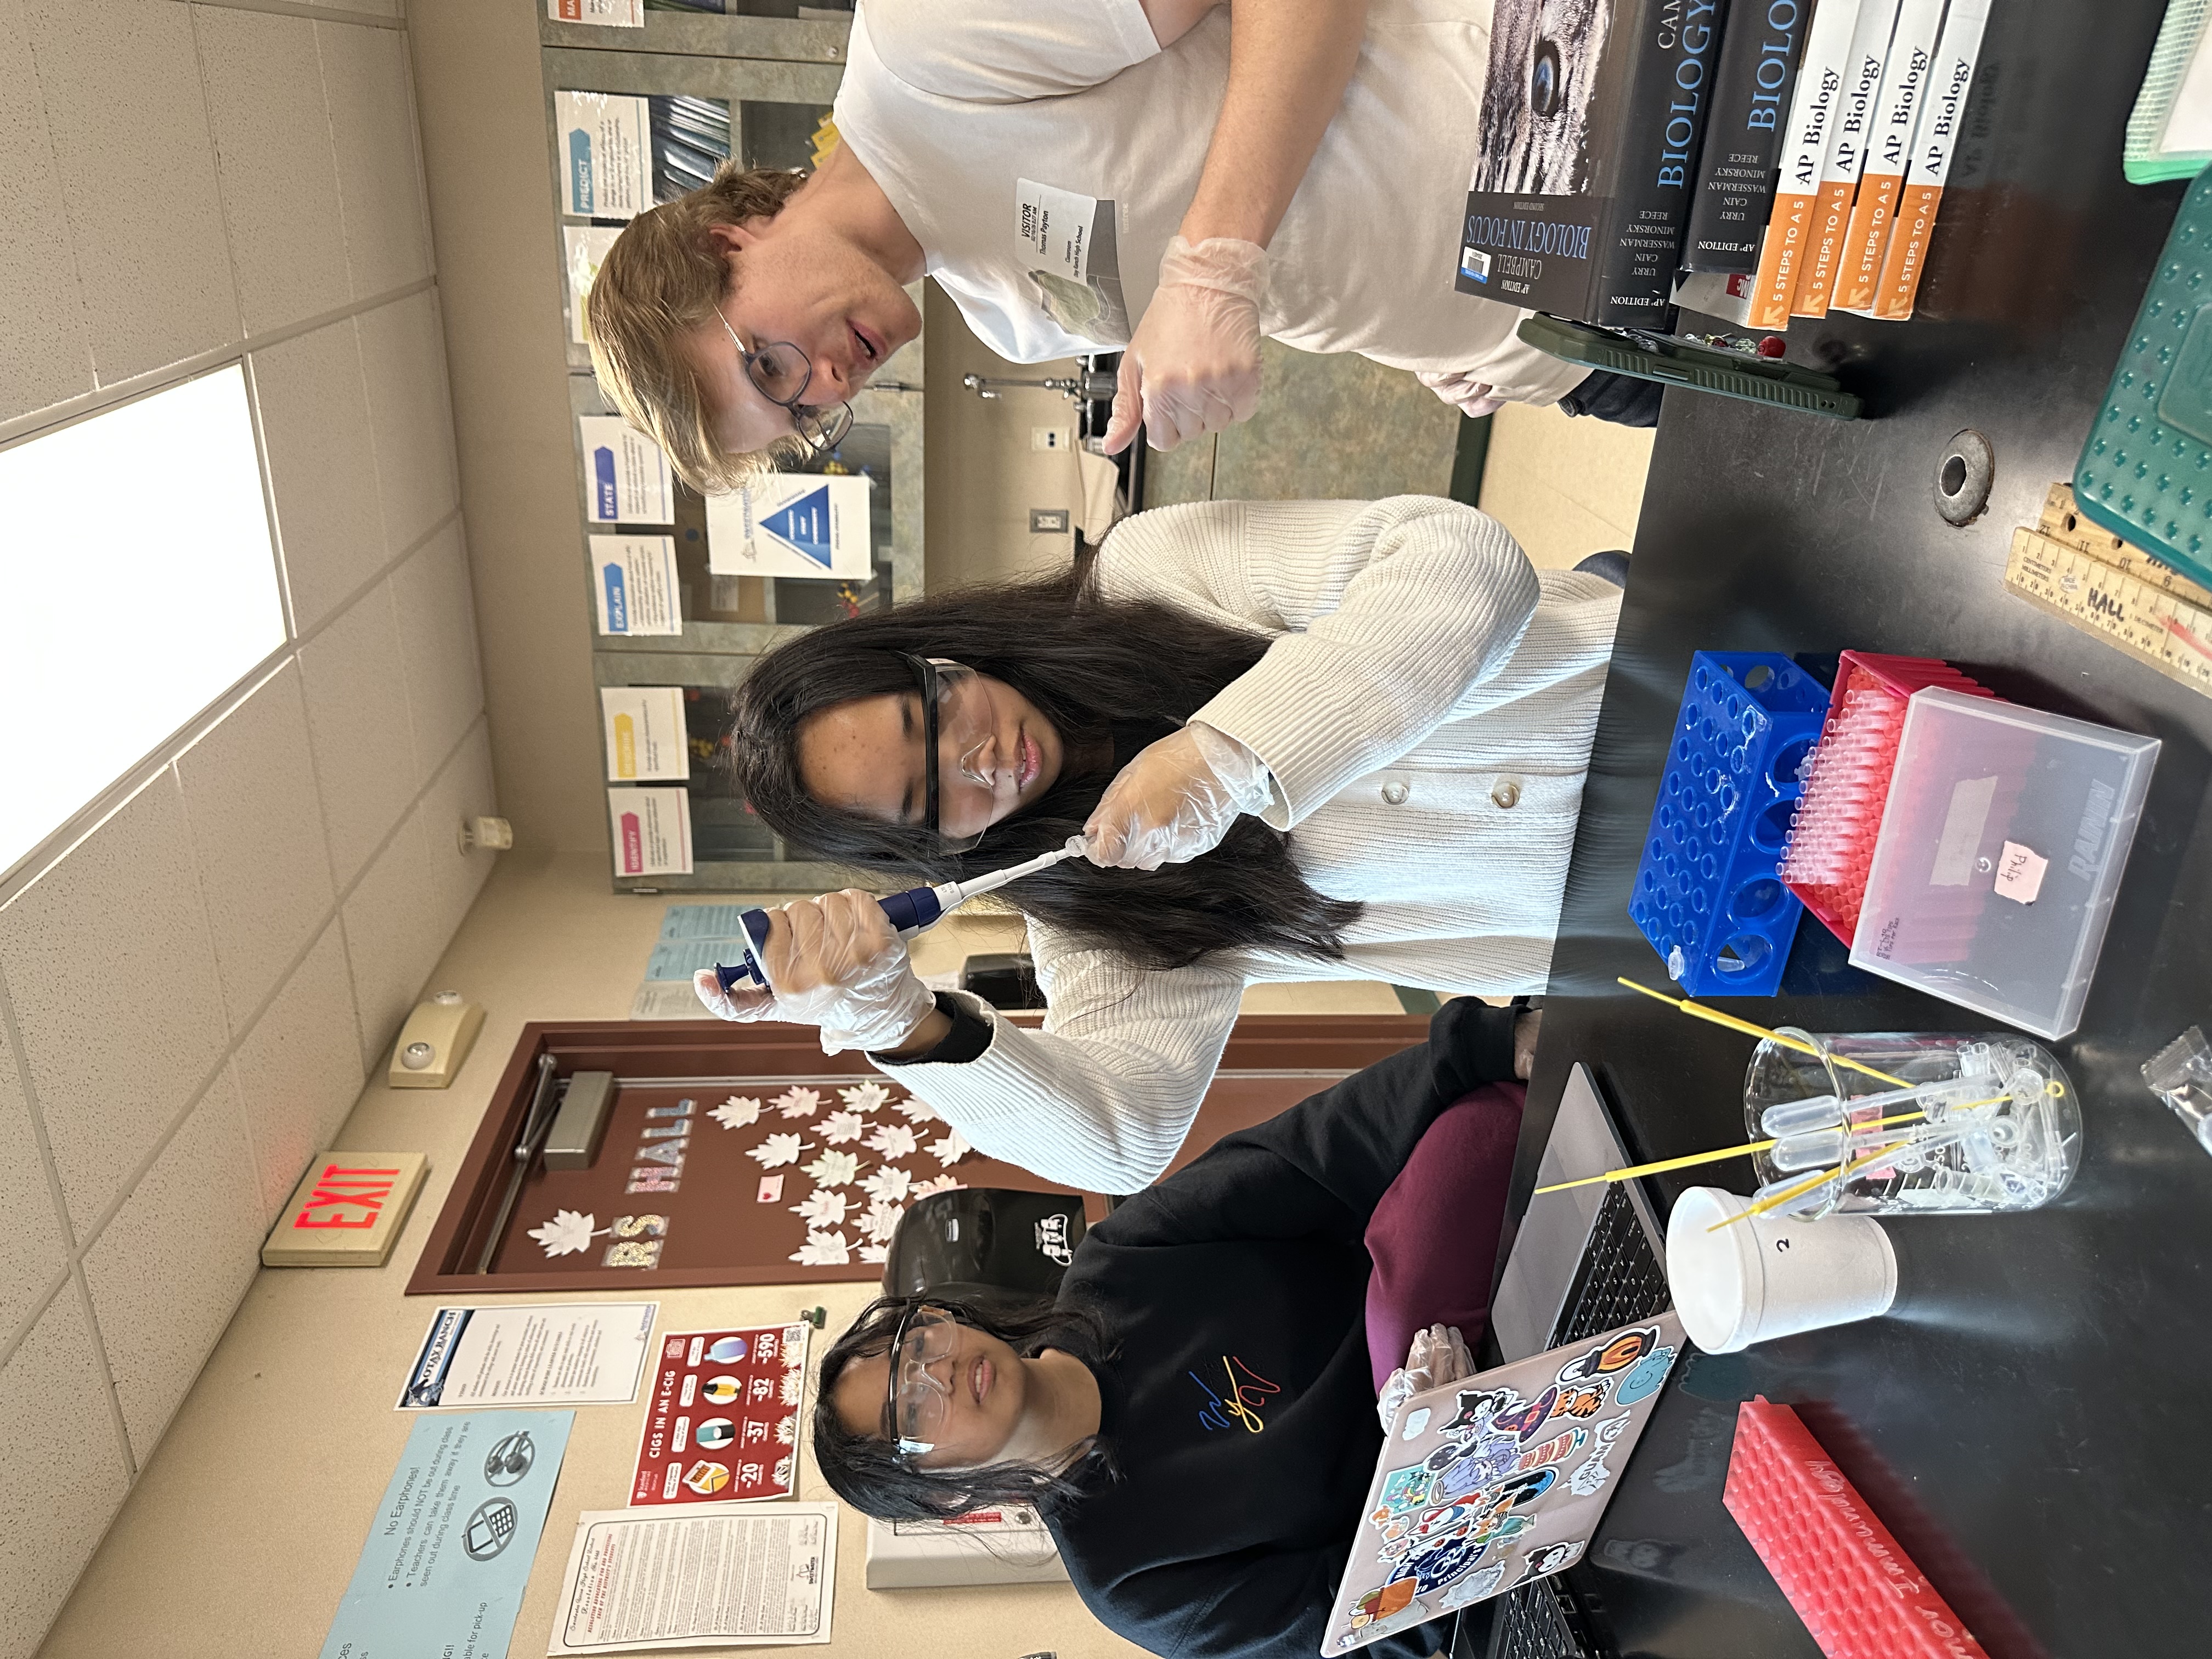 While we wait, we use an interactive activity that a teacher we often collaborate with, Jorgina Hall, came up with to explain the heat shock process.
The students form 2 circles, each representing a cell, where the students act as phospholipids. One student from each circle is selected to hold the “plasmid DNA” prop, and stands outside the circles. We then play out how the cells act during the heat shock process:
- On ice: The phospholipid membrane is solid. Students playing phospholipids pack in tight and don't move — no gaps, no entry of the DNA into the cells.
- In the 42°C water bath: What happens to fats when they heat up? They melt! So at 42°C, the membrane becomes fluid. Students widen their circles, and small gaps appear. One "DNA" student slips through a gap into the cell. The other doesn't find an opening, an illustration of kinetic probability.
- Back on ice: Students close the gaps, locking the DNA in (or out).
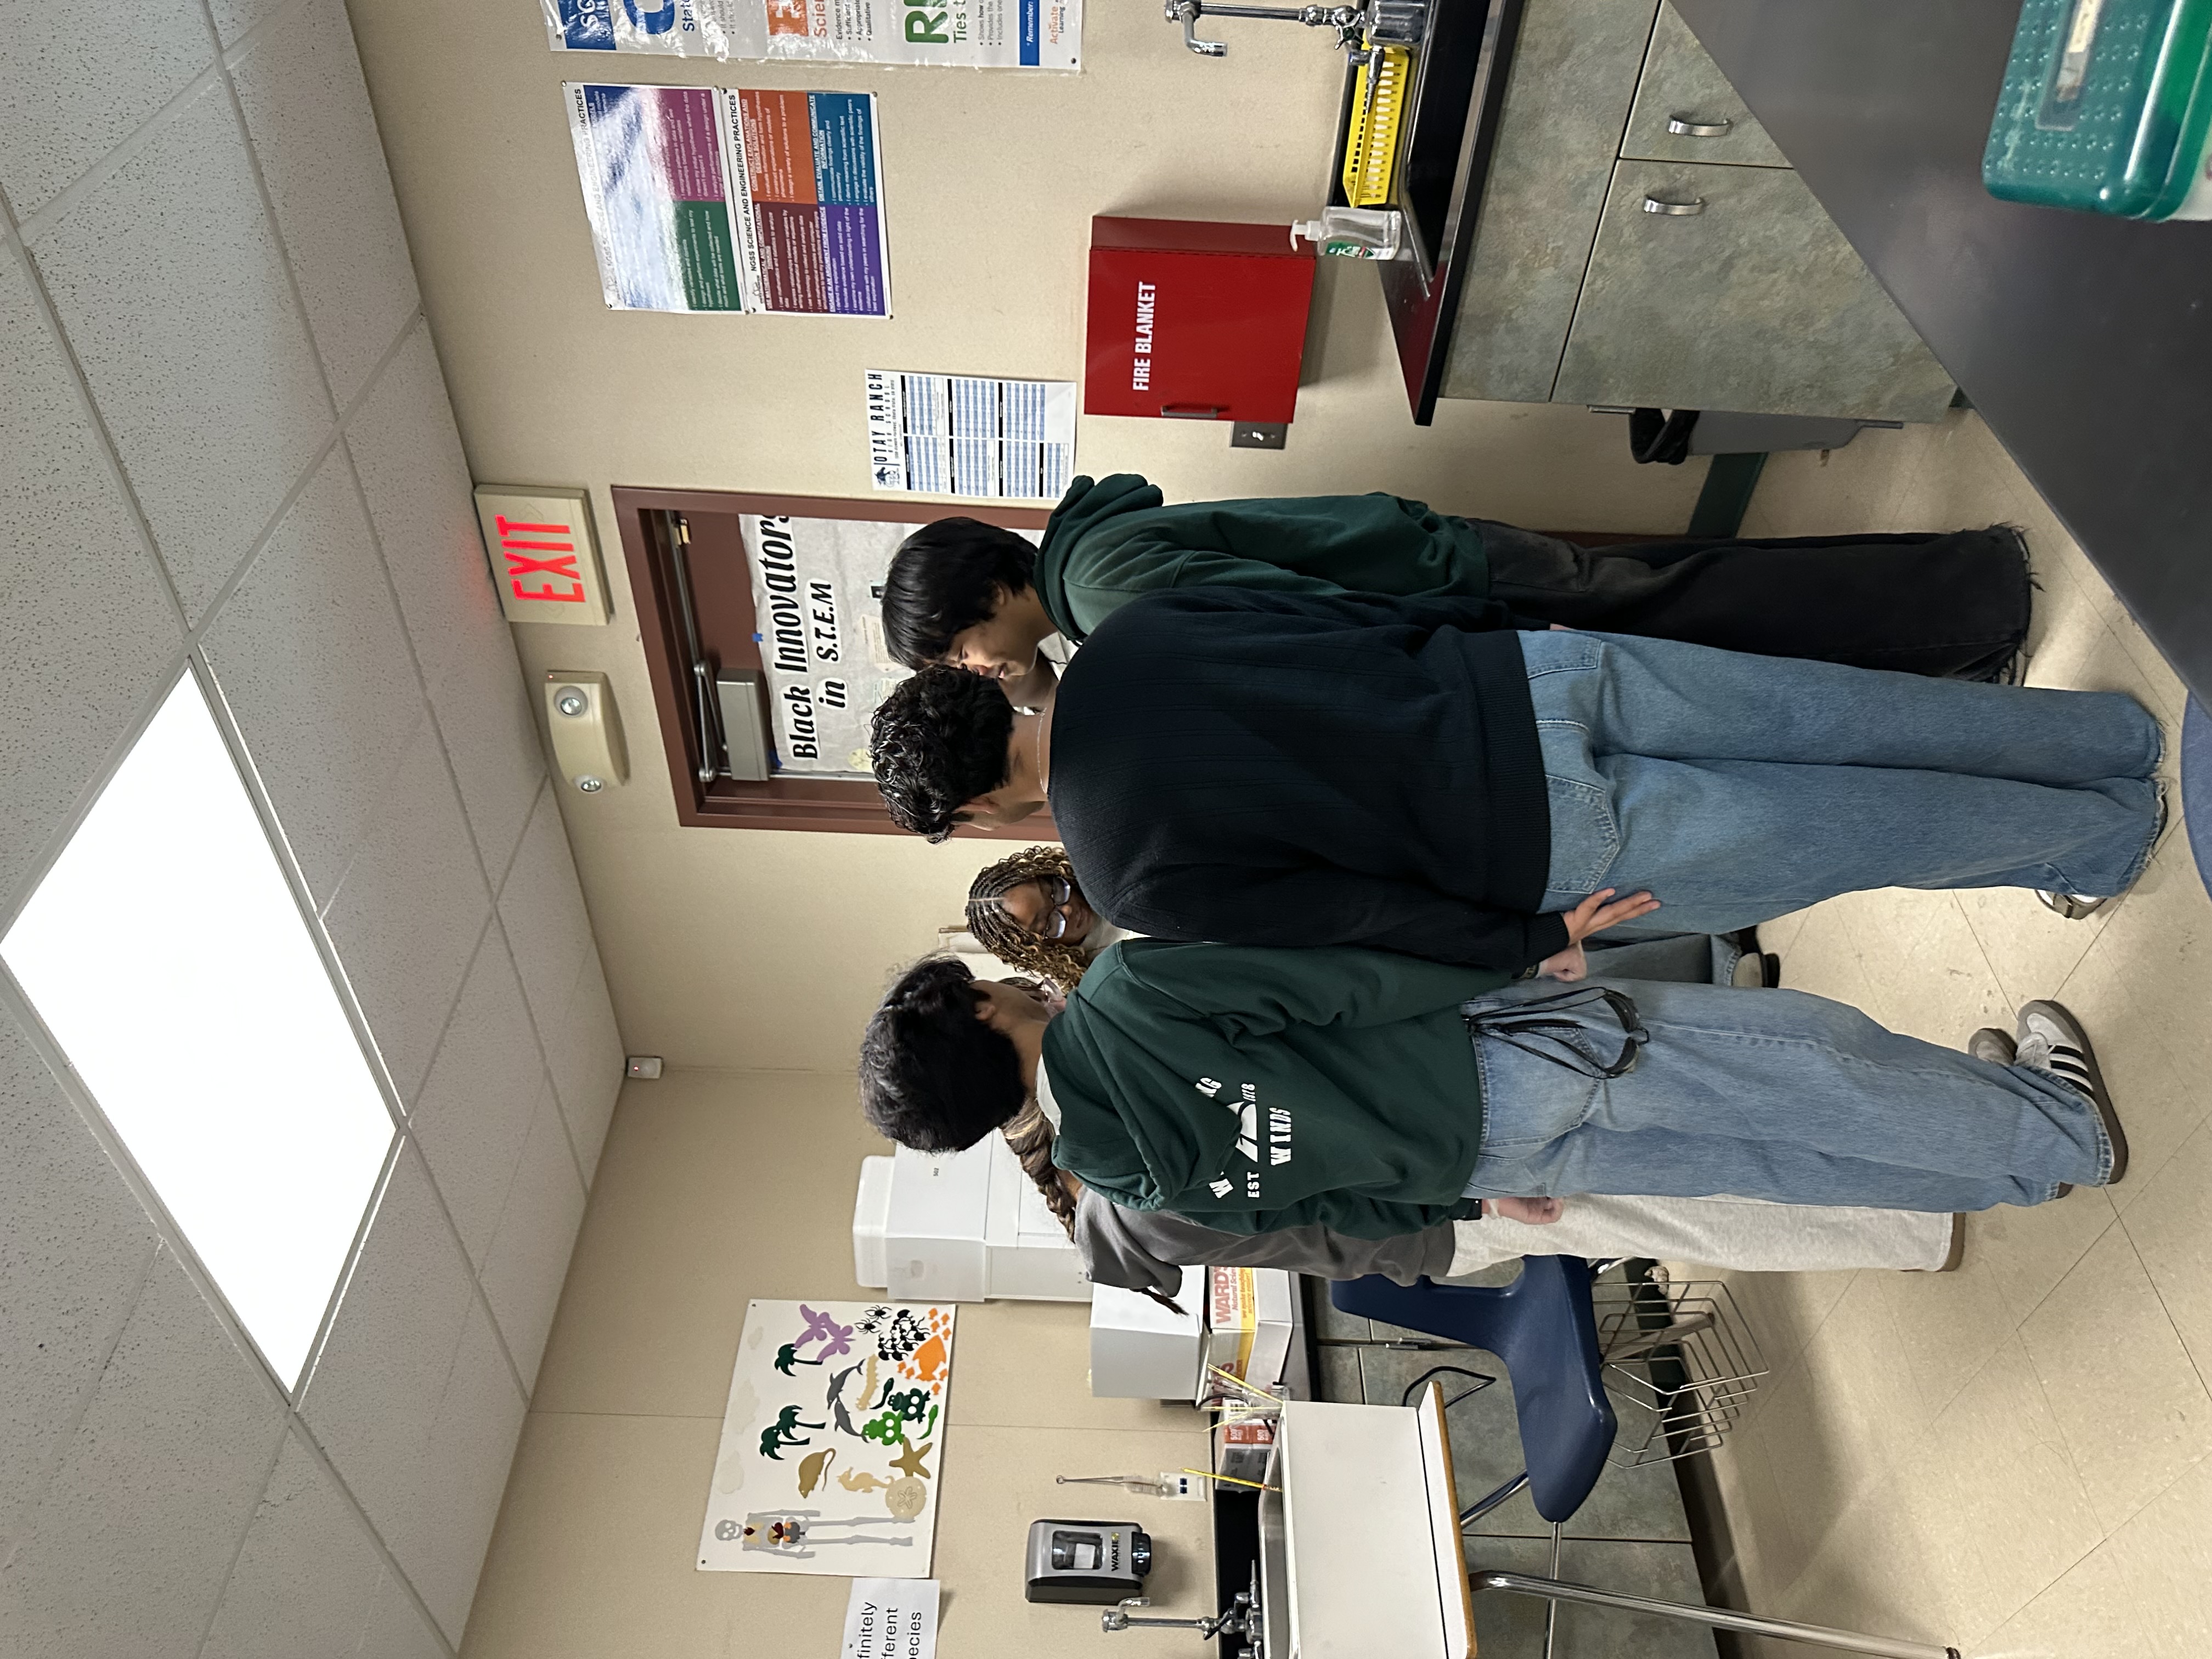
We then ask: if both cells are plated on an LB + antibiotic plate, which one survives? The transformed cell produces an antibiotic resistance protein from the plasmid and grows. The untransformed cell doesn't and dies. This activity really solidifies the physical concept behind heat shock and why it works. It isn't magic, just science!
Heat Shock and Recovery
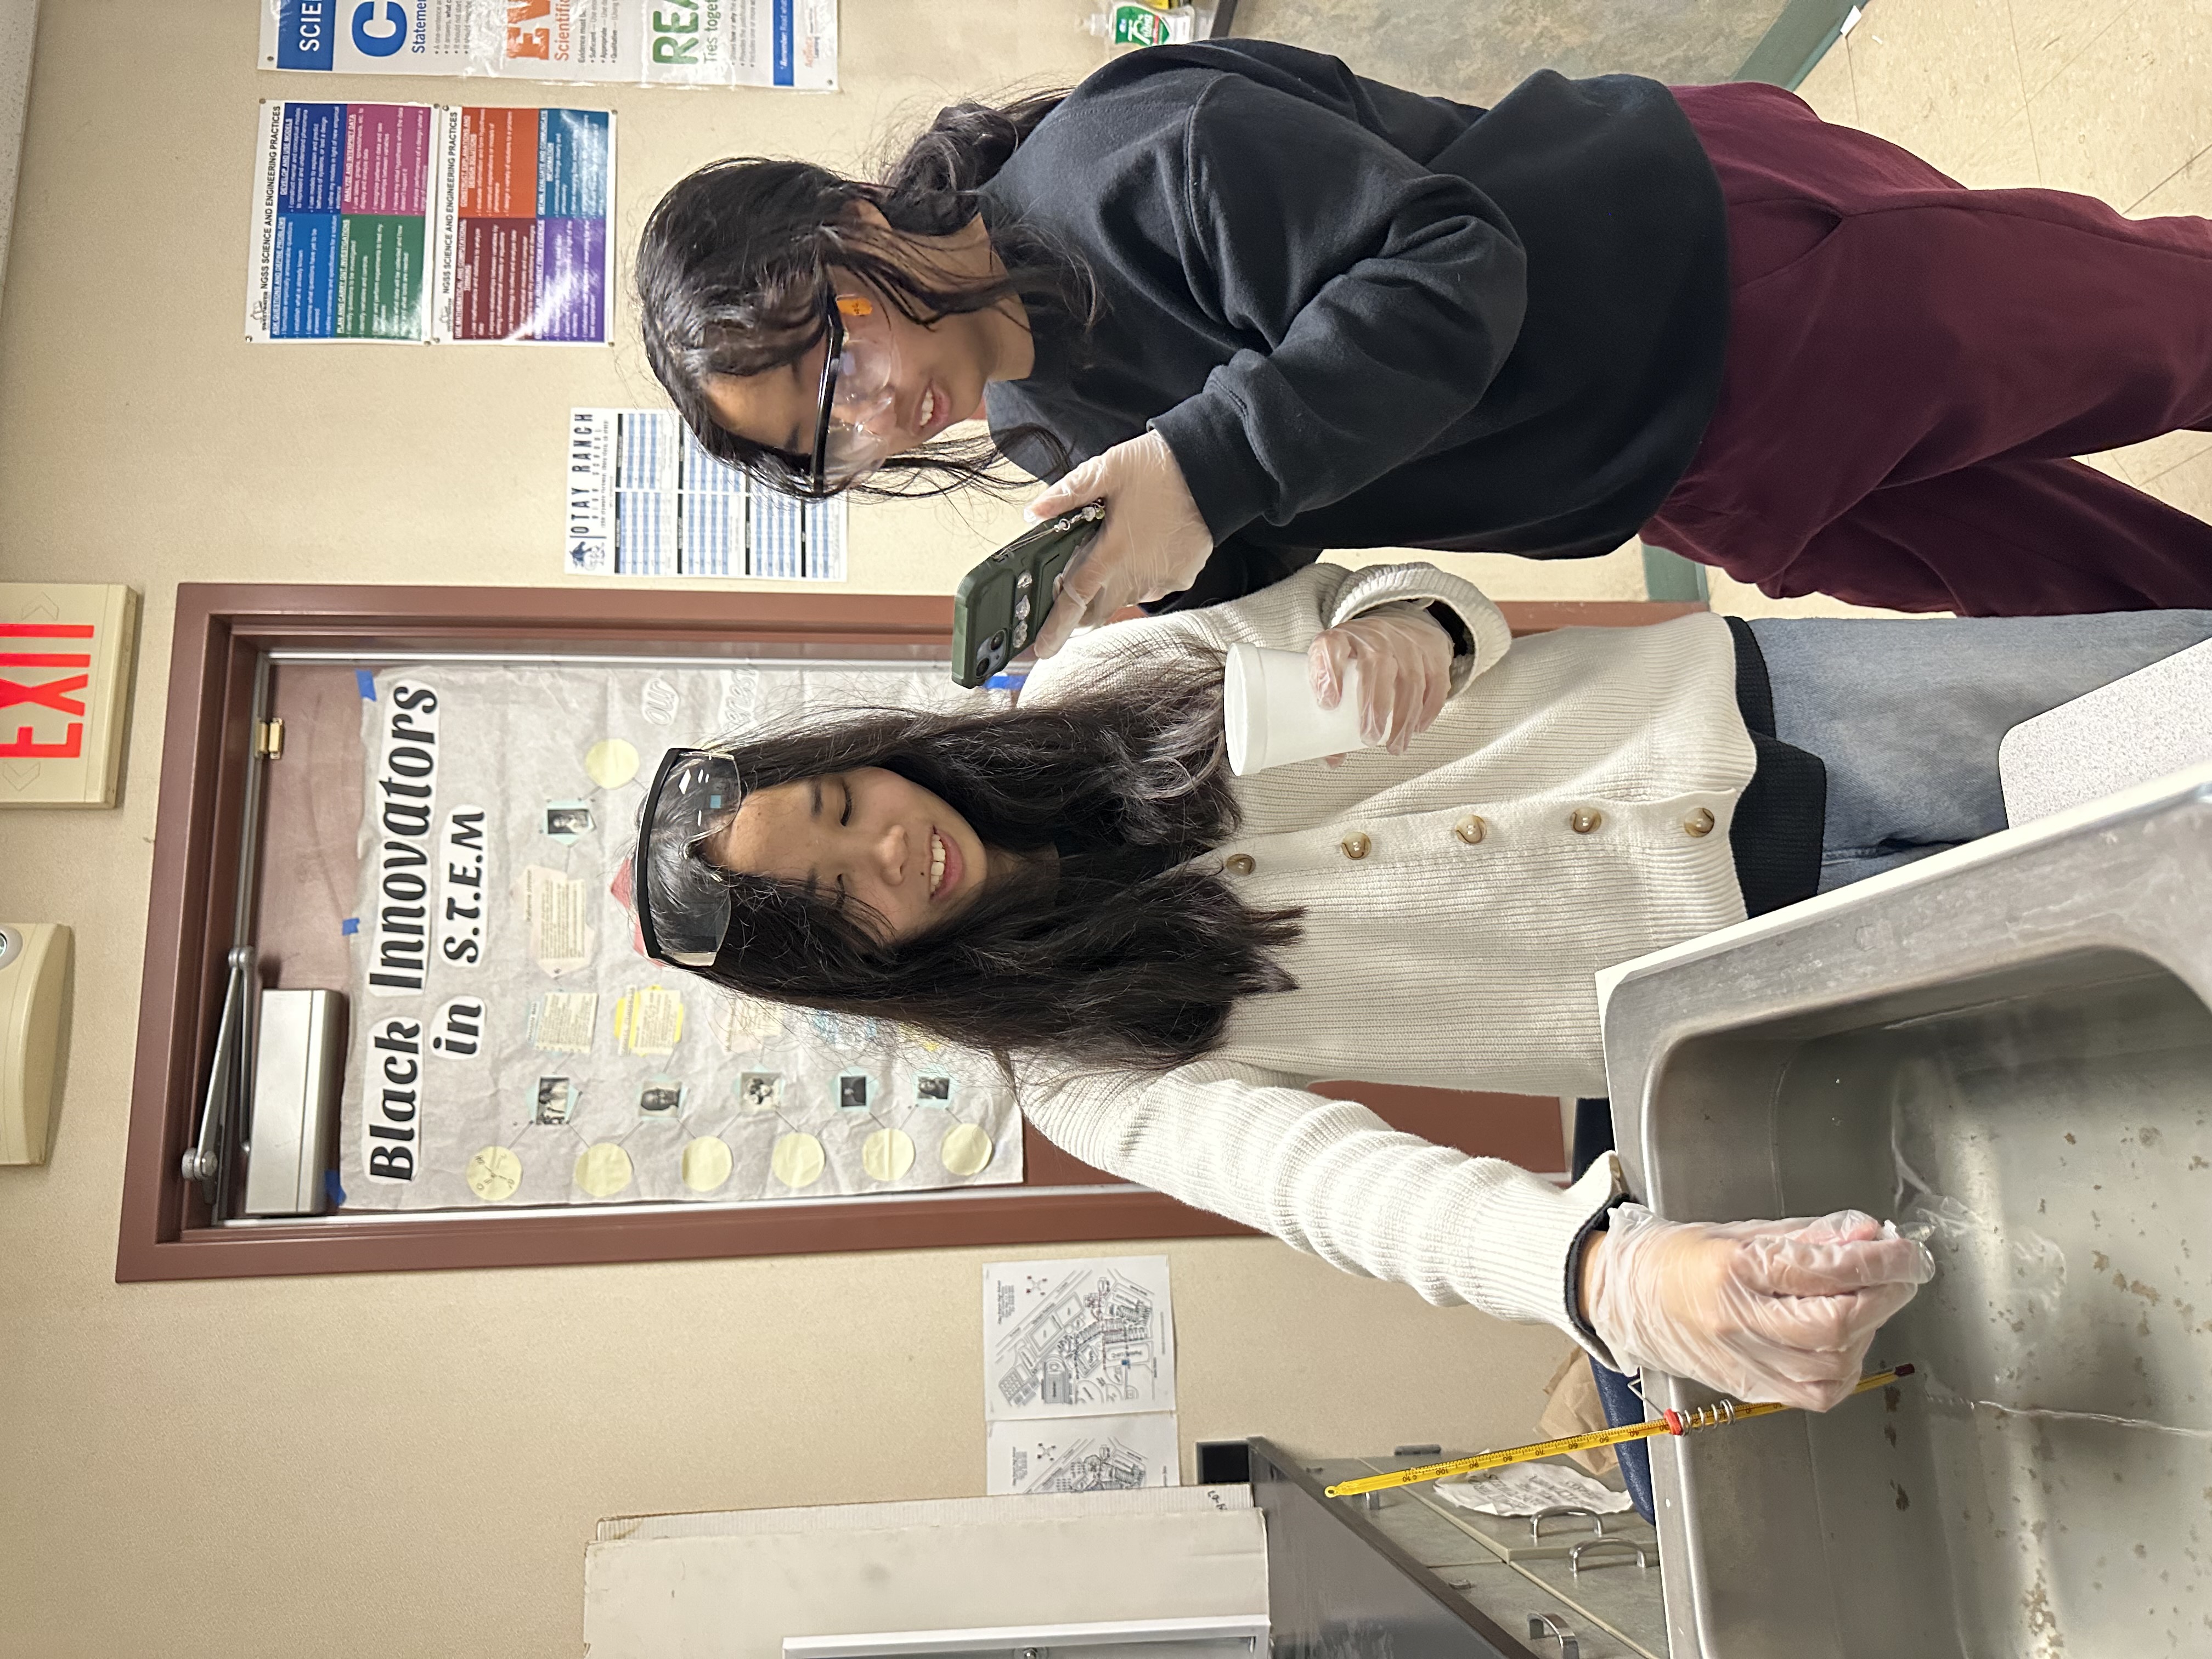
After the activity, students return to their lab benches and carry out the actual heat shock, dipping their tubes of cells in a 42°C water bath for 45 seconds and then placing them back on ice for 2-5 minutes. They then add LB for recovery and place tubes in the 37°C incubator for ~1 hour (can be shorter but transformation won’t be as efficient).
CRISPR Deep Dive
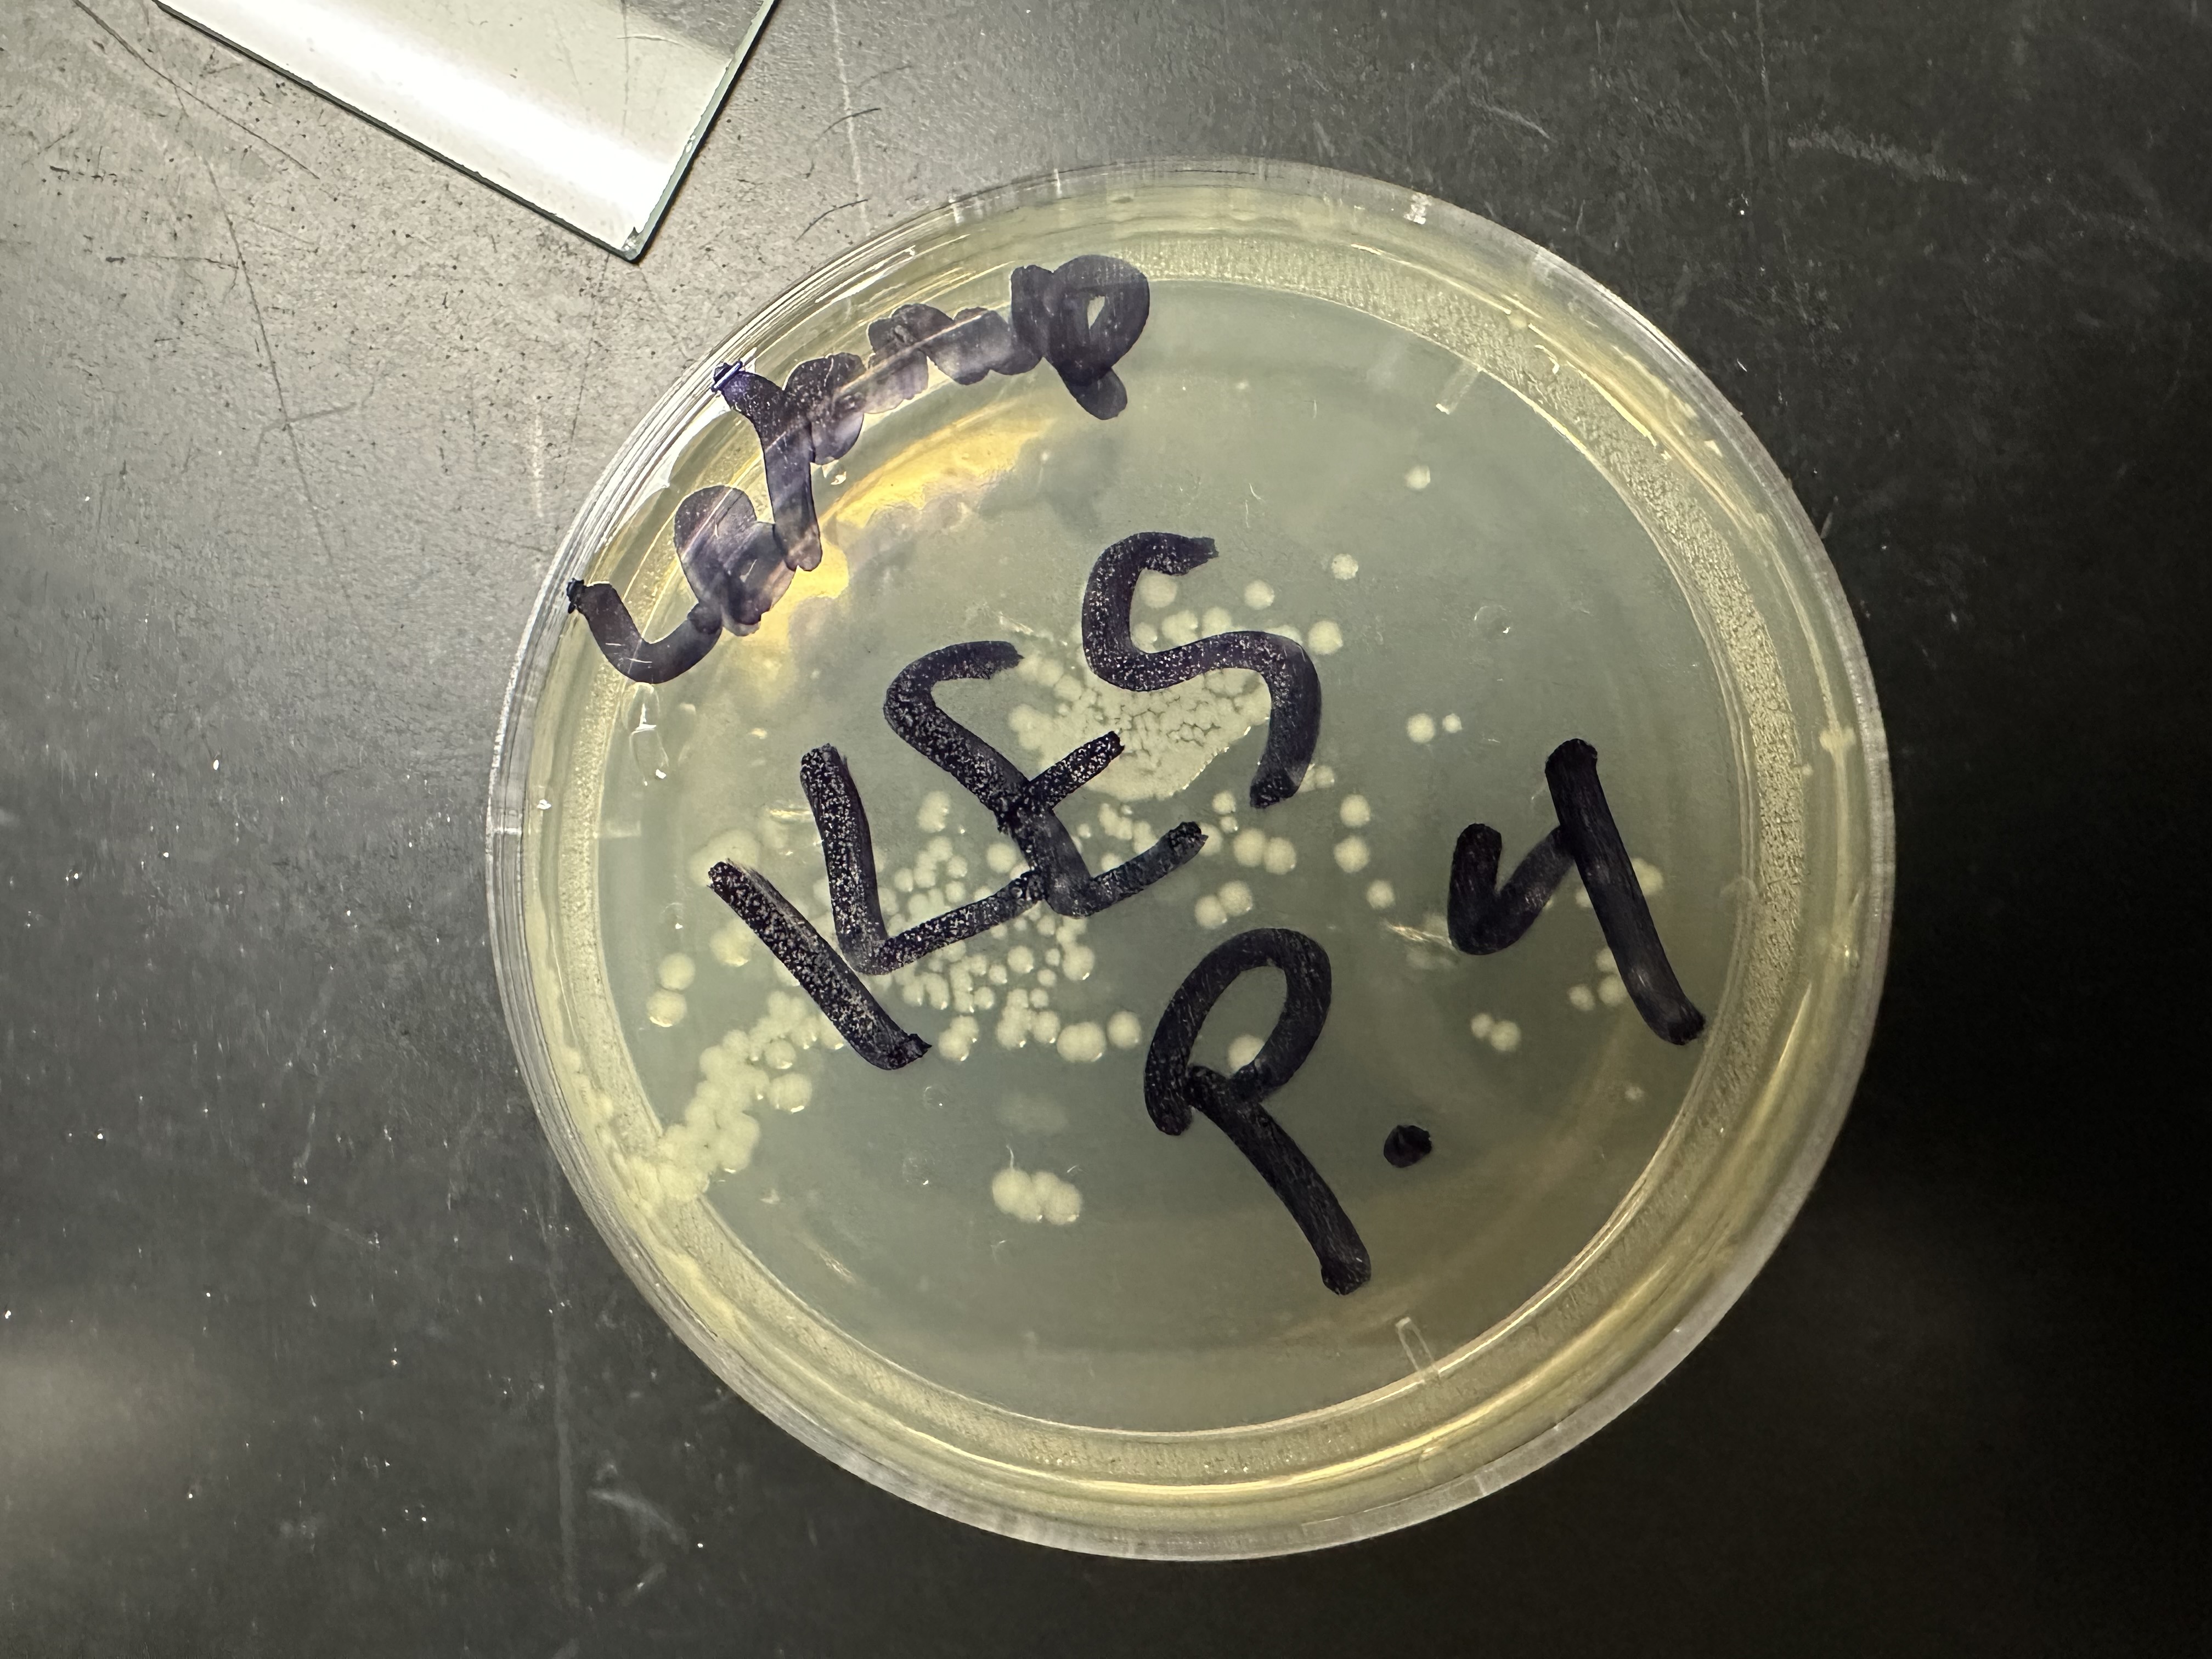
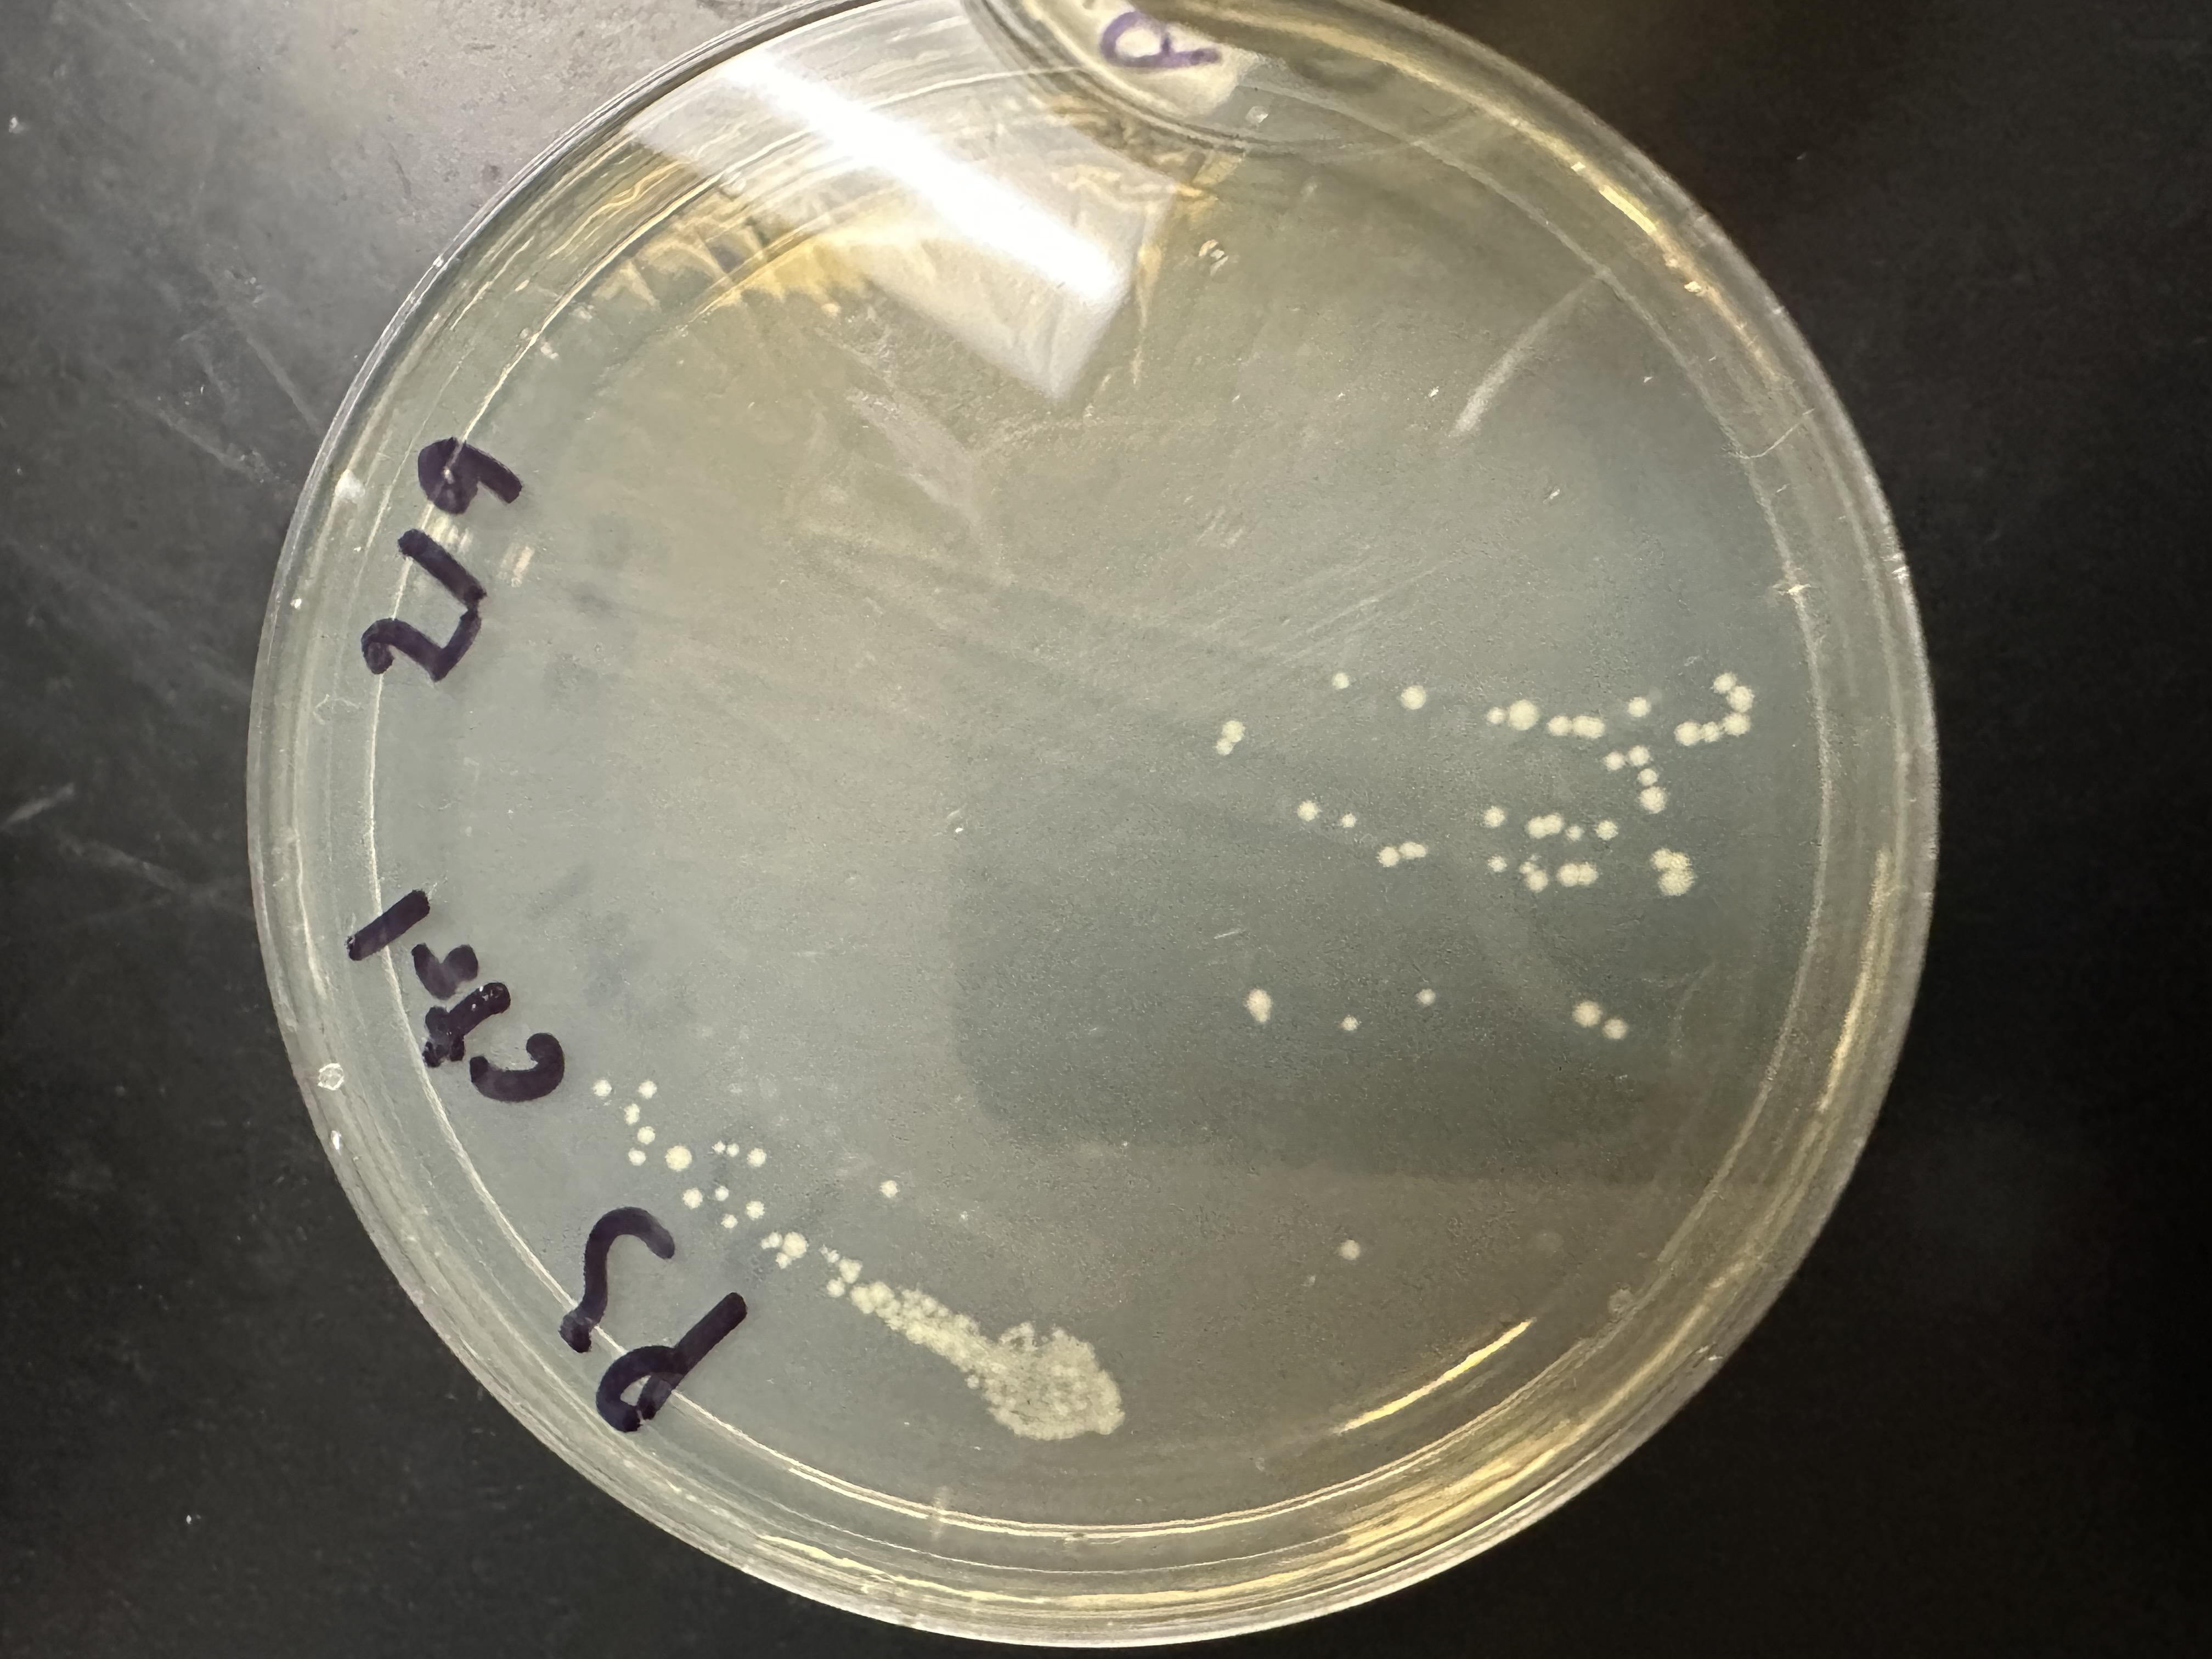
While waiting, we go through some slides explaining how CRISPR was discovered as a natural bacterial immune system, how scientists have engineered it as a precise gene editing tool, and some key applications of CRISPR. We then go over how CRISPR was used in the lab and expected results. If the experiment works, there should be increased motility in our experimental cells compared to the control. This can be seen on the LB agar plate in the form of slightly larger colonies. For confirmation, students can resuspend colonies in ~10 µL of LB and observe them at 400× magnification under the microscope.
Bioethics Discussion
The last (and my favorite) part of the lesson, time allowing, is a discussion about the bioethics of gene editing. We introduce the students to He Jiankui, who in 2018 illegally edited the CCR5 gene of twin embryos to confer resistance to HIV. We acknowledge how devastating a disease HIV is, but also how reckless his experiment was, emphasizing the poor scientific rigor and uncertain future health effects for these twins. We elicit opinions from the students and ask “where is the line?” What genes would be ok to edit? Which genes wouldn’t be ok to edit? I then challenge them, proposing that even “obvious” edits such as editing out congenital blindness or deafness could end up erasing entire cultures, communities, and ways of living that are based on these conditions. We then bring up the concept of eugenics. Which genes are “good” or “bad”? If there were a gene that makes people smarter, would it be unethical to not edit it? What if only some could afford it? The students are usually very active during this part of the lesson, a welcome change of pace from the molecular mechanisms.
Plating and Conclusion
Finally, we have the students plate the cells onto LB+antibiotic agar plates and place them into the 37°C incubator before sending them off to their next class. Results are checked the following day. I also usually leave them with the thought: we conducted eugenics today; we are selecting for the population that has the "good genes" while killing off the rest. Hoping to leave them wondering where the line is, while also being in awe of the fact that they just modified the genome of a living organism.
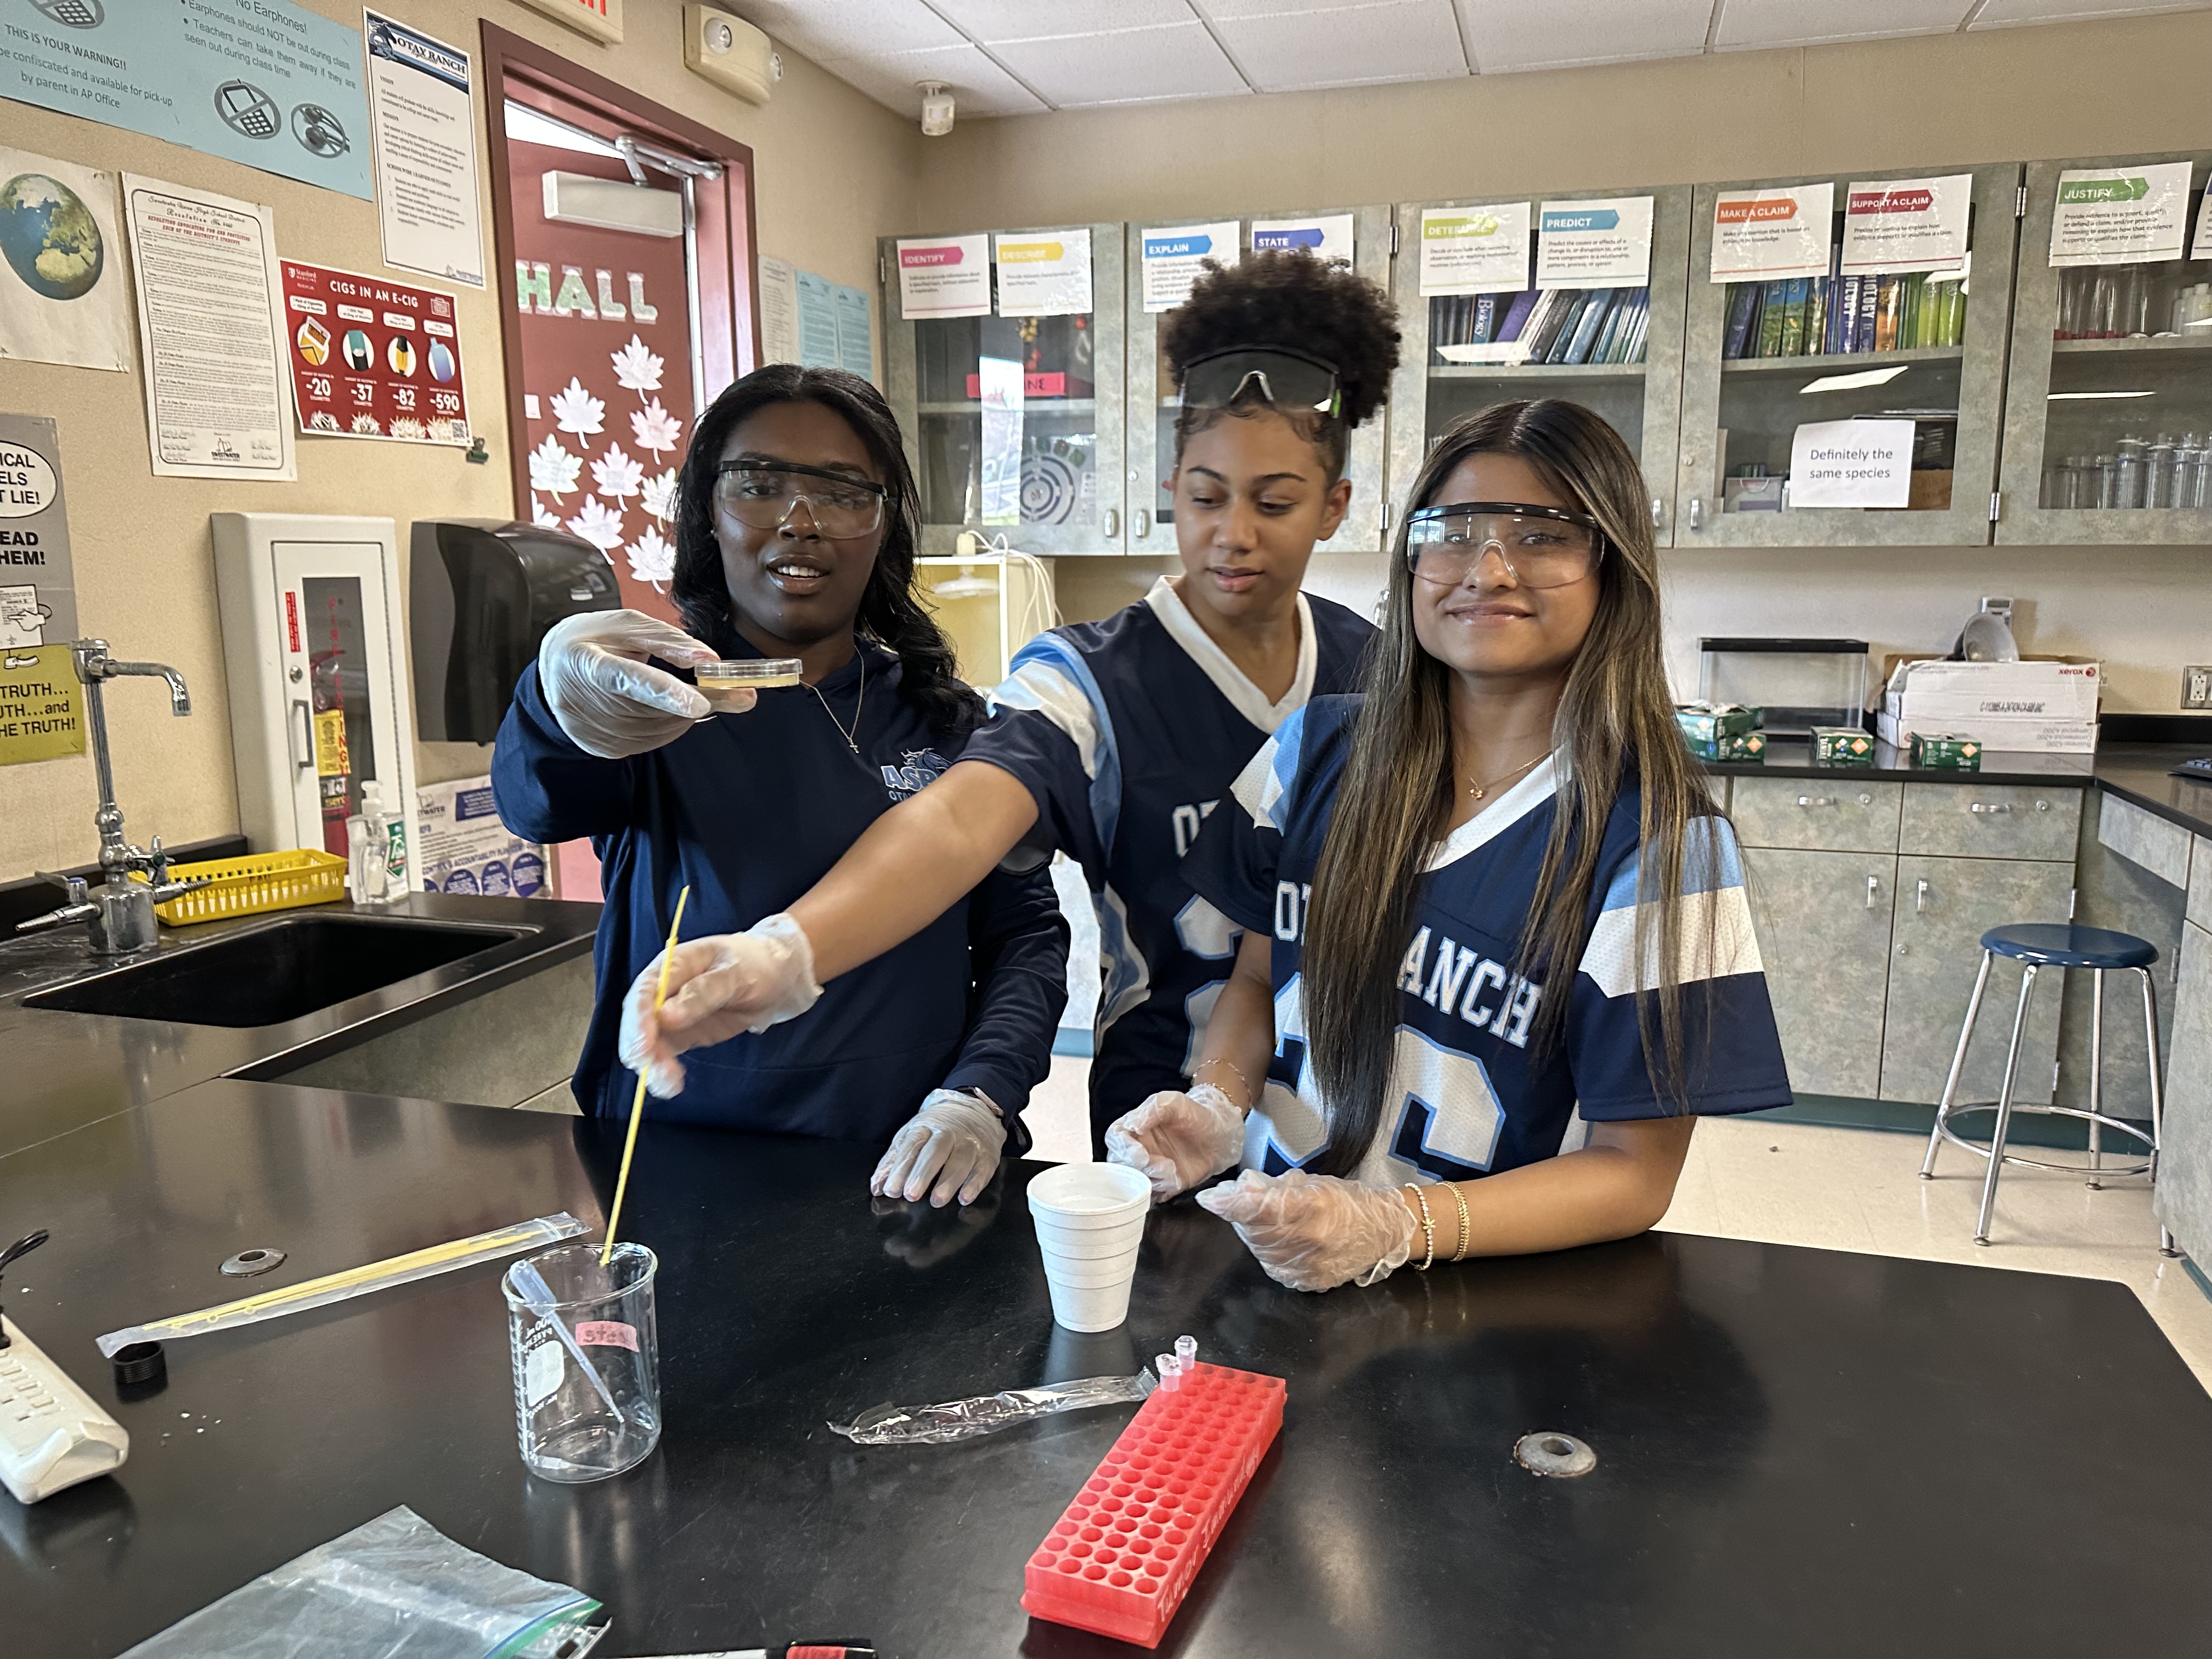
I really enjoyed developing and iterating on this lesson plan and it's fun to teach, although it does require significant prep work. The teachers we work with tell us about the “oh wow” moment the students have when observing their more motile bacteria versus the non-edited control bacteria. I am so glad that I get to share the feeling of awe I also experienced when I produced my first genetically modified organism.
I linked the slides here for anyone attempting to replicate this in their own classroom.